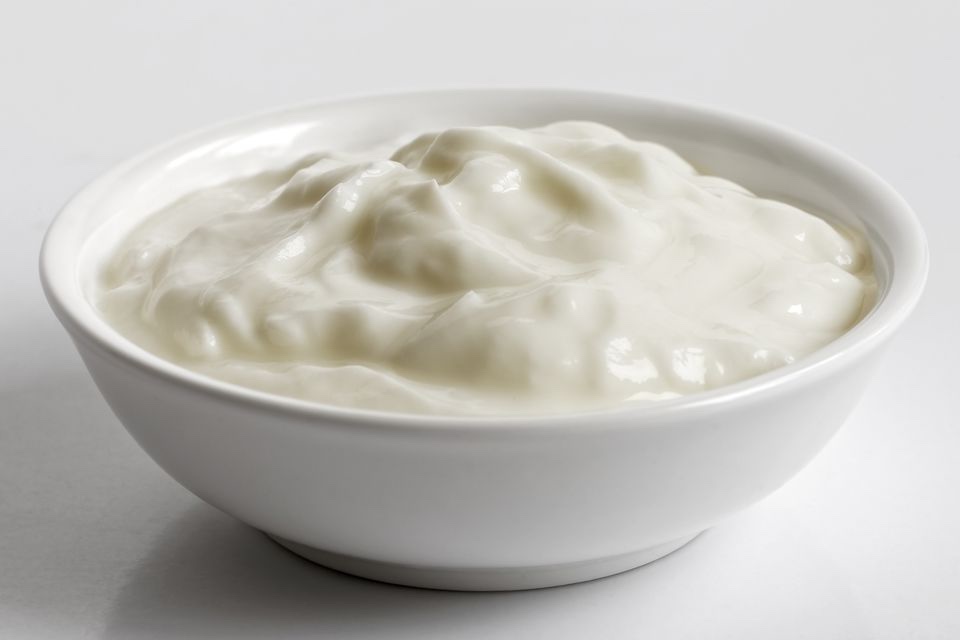
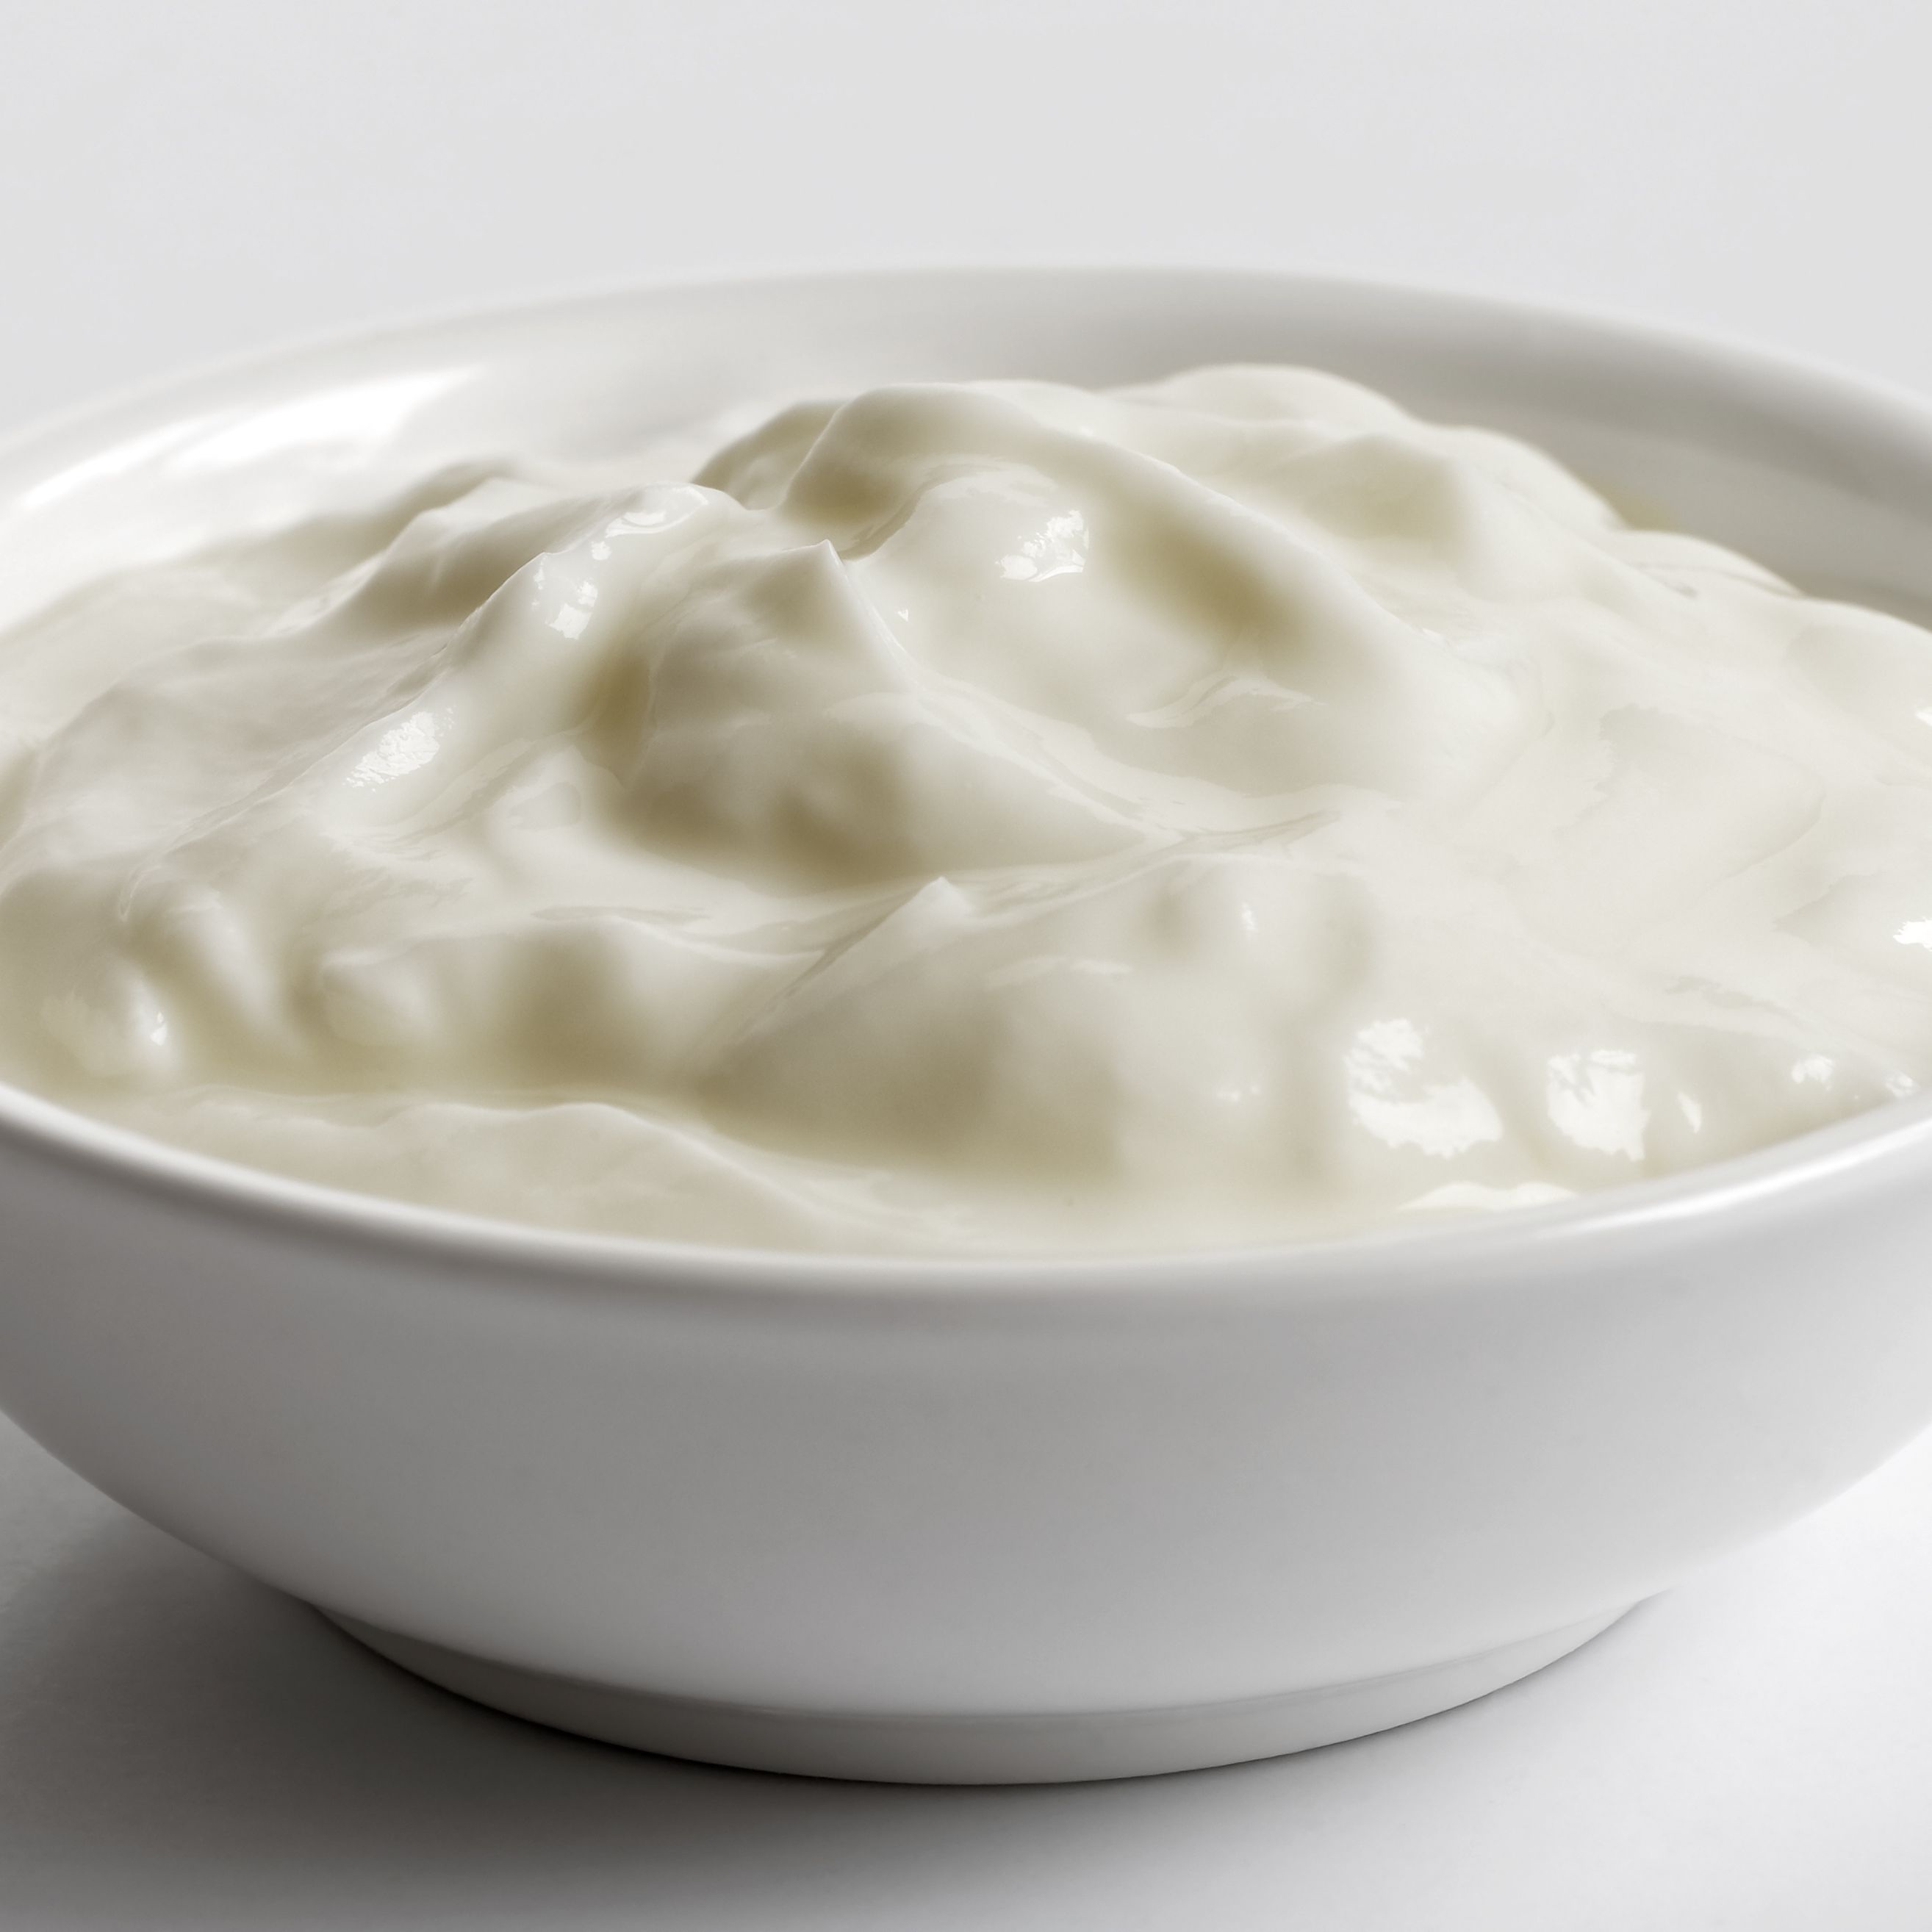
Garlic Fresh Cheese

Garlic Fresh Cheese

Foraging is integral to the rural Scandinavian way of life and each season offers some delicious ingredient from nature’s bounty. Scandinavians actively seek out wild garlic when it’s in season so if you’re out in the woods in spring, collect a few leaves.  This garlic fresh cheese is delicious with sourdough.

2 lbs. 4oz Greek yogurt *

1 tbsp sea salt

2 tbsp extra virgin olive oil

small bunch of garlic leaves (preferably wild), finely chopped

½  lemon, zest and juice (optional)

Stir the yogurt in a large bowl with the sea salt. Transfer to a sieve lined with a double layer of muslin and set over a large bowl. Wrap up the ends of the muslin tightly, twisting and securing with an elastic band. Leave in a cool place to drain for 24 hours.

The following day, heat 1 tablespoon of the oil in a small pan and add the wild garlic. Sauté for a minute or so until wilted. Allow to cool.

Unwrap the drained yogurt and place in a bowl, discarding the liquid. Stir in the wild garlic and season with pepper and a little lemon juice and zest, if desired, for a tangier version. Adjust the salt to taste, then drizzle over the remaining oil before serving.

*Real Greek yogurt is best as the original kind from Greece is properly strained and has the right consistency for this recipe. Do not use ‘Greek-style’ yogurt as this description can mean anything, and won’t necessarily have as good a texture or as delicious a flavour.

Bircher Muesli

2½ cups old-fashioned rolled oats or rolled rye flakes

Scant 1 cup milk or soy milk, warmed

½ cup plain skyr

2 tablespoons raisins

2 apples, cored and diced or thinly sliced

½ apple, cored and shredded

2 handfuls of fresh berries

2 tablespoons chopped almonds

2 tablespoons chopped skinned toasted hazelnuts

2 tablespoons honey

Put the oats in a bowl or jar and pour in the warm milk. Cover and refrigerate overnight.

In the morning, add the skyr and mix to combine. If the mixture is too thick, add more skyr. Mix in the raisins, diced apples, and berries, then serve topped with the almonds, hazelnuts, honey, and shredded apple.

Skyr

  • 1 gallon non-fat milk, pasteurized (not ultra-pasteurized)but not homogenized
  • 1 (5 1/2-ounce) container Siggi’s plain or vanilla skyr*
  • 7 drops liquid animal rennet, or 4 drops liquid vegetable rennet
  • 1/4 cup warm, non-chlorinated water
  • A reliable digital thermometer
  • A fine-mesh nylon vegetable bag or cheesecloth for draining the curds

* Available at Whole Foods, Fresh Market, Haggen’s and specialty food stores. Skyr was introduced to America in 2005 by enterprising Icelandic expatriate Siggi Hlmarsson under the brand name of “Siggi’s Icelandic Style Skyr.”

Skyr—pronounced “skeer”—is a traditional Icelandic “yogurt” that has been made since the 9th century Viking era. It is technically classified as a cheese because it contains rennet, a substance used in curdling milk when making cheese, but is considered a yogurt because of its structure and texture.

Bring the milk to the scalding point.  Pour the milk in a heavy-bottomed pot and bring the milk to a slow and steady simmer over a medium-high burner, heating it until it reaches the scalding point, which is between 185 and 190 F; this should take about 15 to 20 minutes. Stir frequently to prevent scalding.

If toward the very end of the heating process you notice that the milk at the bottom of the pot has begun to scald (seems like it is starting to stick), reduce the heat to medium-low, and stop stirring. A small bit of scalding is okay, but you don’t want to release the scalded bits into the mixture.

Turn the burner off immediately when the milk reaches the scalding point. Remove the pot from the burner and allow it to cool to 110 F.

Scoop out the container of skyr into a bowl. Once the milk has cooled down, combine 1 cup of the cooled milk with the skyr, then return the mixture to the pot, stirring to incorporate.

Next, whisk the liquid rennet into the warm water, then stir this mixture immediately into the milk (the rennet will lose its effectiveness if prepared more than 30 minutes before using).

Cover the pot with a thick towel and place in a warm, draft-free spot, such as the oven (not turned on) or an insulated cooler, for 12 hours.

The curds should have separated from the whey overnight—what you need to create the skyr are just the curds. Spoon the curds into a fine-meshed bag or a double-layer of cheesecloth. Suspend the bag over a dripping tray in a cool room, or place the bag over a colander set over a bowl in the refrigerator, and allow the remaining whey to drain until the skyr is thick.

Your skyr will keep for three or four weeks, covered, in the refrigerator. To serve as breakfast or a snack, top with milk, fresh berries, and sugar or honey to taste.

What is Skyr?

Skyr ( pronounced “skeer”) is an Icelandic dairy product similar to yogurt, and it’s been a provision of Icelanders for nearly 1,000 years.

The Cultures

Yogurt and Skyr are both cultured dairy products, but the cultures that make them are different. Skyr impart a rich, creamy flavor, whereas yogurt cultures may provide a sour, tart taste.

The Recipe

Skyr is much thicker and more densely concentrated than yogurts. In fact, it takes nearly four cups of milk to make just one cup of Skyr.

The Nutrition

On average, Skyr contains more protein and 1/3 less sugar than regular yogurts. It’s a not-so-secret secret Icelanders have known for generations.

How Skyr is Made

The milk is heated to just the right temperature before adding Skyr Cultures, which help transform that milk into Skyr — the way Icelanders have for hundreds of years.

Next, flavor Skyr with a combination of traditional berries, enhanced with natural flavors, and those native to Iceland and its Nordic cousins, a nod to the relationship these nations have shared throughout the centuries.

Even if you don’t use Nordic berries in your Skyr it’s for good (and delicious) reasons. For instance, while you won’t find coconuts growing in Iceland, coconut flakes and flavor make a fantastic addition to Skyr!

Nordic Berries

Bilberry

Bilberries look and taste like blueberries, but they are much juicier and more intense.

Cloudberry

Cloudberries are hard to find, but their sweet, baked-apple taste is worth the search.

Lingonberry

Lingonberries are equal parts sweet and tart, making them delightfully refreshing.

Black Currant

Beloved by the Vikings, the black currant provides a tart punch to our ripe black cherry flavor.

Each cup of Skyr contains an average of 15-17 grams of protein. On average Skyr contains 11 grams of sugar per flavored cup, which is at least 4 grams or 30% less than 5.3 ounces of ordinary flavored yogurts that contain at least 16 grams of sugar.

Ricotta Cheese

1 gallon whole milk, not ultra pasteurized
1 teaspoon citric acid dissolved in 1 cup cool, nonchlorinated water
1 teaspoon cheese salt dissolved in 1⁄2 cup cool, nonchlorinated water
1–2 tablespoons heavy cream

Pour in the milk, the citric acid and the salt solutions, and mix well without touching the bottom of a chilled pot.

Heat the milk to 185–195 degrees, do not boil. At 180 degrees stir occasionally to prevent a skim coat from forming on top of the milk.

When the curds and whey separate, turn off the heat. If the whey is still milky at 195 degrees, increase the heat another 10–20 degrees.  If the whey remains milky, add more citric acid solution a little at a time, stirring gently until you see a clear separation. Allow to set for 10 minutes.

Ladle the curds with a slotted spoon into a colander lined with butter muslin. Tie the corners of the muslin into a knot and hang the bag to drain at 72–86 degrees for 30 minutes, or until the cheese reaches your desired consistency.

Remove the cheese from the bag and place in a covered container. For a creamier consistency, add the cream at the end and mix thoroughly.

Store in the refrigerator for up to 2 weeks.

“Mary Karlin” Inspired Junket Mozzarella

1 gallon pasteurized but not homogenized whole cow’s milk
7 tablespoons distilled vinegar
4 tablets junket rennet dissolved in ½ cup cool nonchlorinated water
1½ teaspoons plus ¼ cup kosher salt or cheese salt

In a 6-quart stockpot, slowly heat the milk to 88°F over low heat; about 20 minutes. Stir in the vinegar using a whisk in an up-and-down motion to incorporate thoroughly. Add the dissolved rennet and gently whisk in for 1 minute.

Slowly raise the temperature to 90°F about 8 minutes. Remove from the heat, cover, and let rest, maintaining the temperature for 1 hour, until the curds form a solid mass of bonded small curds the consistency of soft tofu. Check for a clean break (see note), and if there isn’t a clean break, check again in 15 minutes.

Cut the curds into ½-inch pieces and let sit undisturbed for 10 minutes, maintaining them at 90°F. Over low heat, raise the temperature to 108°F over 15 minutes, gently stirring every 5 minutes or so and frequently checking the temperature and adjusting the heat as needed. Once 108°F is reached, remove from the heat and, using a rubber spatula, gently stir for about 10 minutes around the edges of the pot and under the curds to move them around and expel more whey.

Let the curds rest for another 15 minutes. At this point the curds will be slightly below the surface of the whey. Gently press one of the curds between two fingers. It should feel springy and stretchable; if it doesn’t, leave the curds for 10 minutes and then test again.

Line a colander with damp butter muslin, set it over another pot, and scoop the curds into it with a slotted spoon. Let drain for 15 minutes, or until the whey has stopped dripping and the curds are compacted together. Reserve the whey.

Add the 1½ teaspoons of salt to the whey and stir to dissolve. Slowly heat the whey over medium-low heat to 175°F to 180°F; this should take about 30 minutes.

Meanwhile, wrap the muslin over the curds and place the packet on a cutting board. Flatten the curds and allow to sit for 20 minutes. Open the muslin and cut the slab of curds into ½-inch strips or chunks.

Place a handful of curd chunks in a slotted spoon and, wearing heat-resistant gloves, dip the utensil into the hot whey for several seconds, melting the curds until stretchable. Using your fingers and working quickly, knead the melted curds in the utensil, dipping it back into the hot whey as needed to keep the curds pliable.

When the curds are kneaded into a firm ball, pull and stretch them into a small rope and fold them over onto themselves, repeating a few times until the ball of curds is smooth, pliable, and shiny. Don’t overwork the curds, or you’ll toughen the cheese. Shape the curds into a ball and place it in a bowl of ice water for 10 minutes to chill and firm up. Repeat.

Make a light brine by dissolving the ¼ cup of kosher salt in the hot whey, then chill.  Place the chilled cheese in the brine for 2 hours. Use immediately for best flavor, or store in the salted whey, covered and refrigerated, for up to 1 week.

Note: Using a sanitized long-blade curd cutting knife (or whatever you have on hand, perhaps a chef knife), make a short test cut at a 45-degree angle to observe the firmness of the curds. If the cut edge is clean the curds are ready to be cut into their proper size.

Easy Cream Cheese

2 Quarts  light cream
1⁄4 teaspoon calcium chloride diluted in 1⁄4 cup cool, nonchlorinated water
1 packet direct-set mesophilic starter culture
Cheese salt
Herbs

Heat the cream to 86 degrees. Add the calcium chloride solution and stir well to combine. Sprinkle the starter over the surface of the milk, wait 2 minutes for the powder to rehydrate, then stir.

Cover and let set at 86 degrees for 8–12 hours, until a solid curd forms.

Gently ladle the curds into a colander lined with butter muslin. Tie the ­corners of the muslin into a knot and hang the bag to drain at 72–86 degrees for 8–12 hours, or until the cheese reaches your desired consistency.

Place the cheese in a bowl and add the salt and herbs to taste, if using.

Pack the cheese into small molds and place in the refrigerator until firm, usually a few hours. Store in the refrigerator wrapped for up to 2 weeks.

What is Clarified Butter?

Most simply clarified butter is butter with the milk-solid proteins taken out.  These proteins are what cause the butter to burn at low temperatures. If you’re sautéing with high heat or for prolonged periods and don’t want the butter to burn you’ll need to use clarified butter.  It’s truly a simple procedure.

To Clarify Butter:

Melt the butter in a heavy-bottom pot and let it sit for 15 minutes.

With a ladle, skim off the froth that has formed on top of the butter and discard.

Lift off the melted clear butterfat, the clarified butter, with a ladle, leaving the water contained in the butter, now useless, in the bottom of the pot.

Or Simpler yet:

Cook unsalted butter in a heavy-bottom saucepan over medium heat until it froths, and the froth begins to settle.

As the froth settles, you’ll see white specks in the butter.  When they turn to brown and adhere to the bottom and sides of the pan  strain the butter through a paper towel, coffee filter, or fine mesh strainer into a bowl.

Cheese Making 101

Cheese
I am an advocate of the growing community of cheese aficionados that believe for you to truly appreciate cheese you must have at minimum a cursory understanding of the cheese making process, it’s steps, and where what you are consuming comes from. The three main types of animals cheese comes from, and the only ones we will be concerned with here, are cows, sheep, and goats. After all cheese is simply concentrated milk with salt added so where do these three species milk vary and why do I have preferences for one over the other. Cows by far produce the most milk, but it is also the thinnest as opposed to Sheep’s milk which is the most concentrated – it has a higher percentage of fat solid, and thus flavor. Of course sheep produce far less of it. Cow’s milk has a fat content of 3.25 percent by weight, whereas sheep’s milk is 7.4 percent milk fat by weight. For some perspective as far as cow’s milk and milk fat: skimmed milk is 0 to 0.5 percent milk fat, low fat milk 1 percent, reduced fat milk 2 percent, whole milk 3.25 percent, half-and-half 10.5 to 18 percent, light whipping cream 30 to 36 percent, and heavy cream 36 to 40 percent milk fat. There is an old adage that goat’s milk is best for drinking, cow’s for making butter, but sheep’s is the best for cheese. Generally speaking it take 6 to 12 units (either pounds or kilograms) of milk to make a unit of cheese.

Raw Milk vs. Pasteurized vs. Ultra-Pasteurized
Raw milk is just that, milk which has not been processed in any manner. It possesses all of its natural bacteria and thus makes more flavorful cheese. Raw milk will separate and curdle if left at room temperature. In the United States it is advised that raw milk should either be pasteurized or used to make cheese aged over 60 days. In many states you are unable to obtain raw milk. It will spoil in about a week.

Pasteurized milk is the best option for most people in the United States that do not have access to raw milk. Pasteurization kills dangerous pathogens, but as a result also to a great extent destroys vitamins, beneficial bacteria, texture and flavor. It will curdle if left at room temperature. Homogenized milk has been processed to break up the fat globules and force them into suspension within the milk. In an effort to prevent the separation of the milk and the cream it changes the Molecular structure which prevents it from producing a culture at room temperature. Most milk available in the United States is both pasteurized and homogenized.

In the United States we also have ultra-pasteurized and ultra-high temperature (UHT) milk. These two groups are unable to produce cheese and should be avoided. Ultra-pasteurized milk is heated to 191 degrees and UHT to 280 degrees Fahrenheit. Unfortunately these processes are used on a lot of organic milks as they are more fragile and susceptible to slower retail sales.

Ripening the Milk
You can pick up most any professional cheese making book, or visit a website, and they will all basically show you the same eight steps in making cheese outlined by professor Kosikowski, the first of these is ripening the milk. This first step involves two interrelated functions acidification and coagulation. Starting with the freshest milk possible, ideally from the most recent milking, a starter culture is added. Traditionally this was done by adding a bit of soured milk from the day before. It is of course still possible to make cheese according to the traditional method, however it is much more difficult and time consuming. It is much more common, nearly universal, that cheese makers use freeze-dried starter cultures containing the beneficial bacteria. These starter cultures offer the cheese maker predictability and consistency.

Coagulation is the process which turns milk into the solid which makes cheese possible. Traditionally animal Rennets are used which are extracted from the stomach of young ruminants. Today there is also a vegetarian option with the rennet coming from various plants, most commonly the cardoon thistle. Rennet induced coagulation takes from half an hour to an hour depending upon the cheese recipe, the temperature, and the kind of coagulant used.
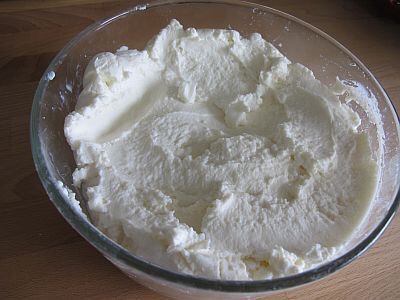
Cutting the Curds
Ince the curds have formed a regular mass they will begin to expel the whey, which is mostly water, as they contract. The greater the surface area of the curds, the more whey they will expel. This is precisely the logic behind cutting the curds. To produce a softer cheese with more moisture content the curds are cut larger, likewise for a harder cheese they are cut small.
The curds should be cut to a consistent size so that they yield a consistent texture and moisture content. Many cheese makers use wires stretched in a metal frame called a harp. The cheese maker will pass the hard through the mass of curd in one direction and then again at the perpendicular.

Cooking and Holding
This third step involves some amount of heating the curds, hence cooking them, and allowing them to rest while the effects of acidification, heating, and cutting runs its course. It is crucial to watch your curds carefully during this step as the smaller curds will get hotter. Due to this is one of several reasons consistent curd size is so important.

Heating the curds is done slowly to prevent them from developing a hard outer skin. Oftentimes they are carefully stirred to aid in whey expulsion and prevent them from sticking. Commercial cheese makers usually employ large stainless steel vats with hollow walls through which hot water circulates to gently warm the curds. The harder the cheese the more it is cooked at higher temperatures and more it is stirred. Sometimes washing the curds is employed. In which case some of the whey is drained and replaced with water. This procedure lowers the acidification of the bath while adding moisture to the curds.

Dipping and Draining
Dipping is when you carefully scoop out the curds to transfer them to a draining vessel or mold. Another way of draining is to open a valve at the bottom edge of the cheese vat. Soft curds will take on the shape of the draining vessel in a mass.

Knitting
The curds in this stage fuse together to form a uniform consistency. Knitting can happen in the vat, mold, cheese press, or draining vessel.

Pressing
Over a few hours or a few days varying degrees of pressure are applied to the curds until the desired moisture content, density, and texture of the cheese is achieved. The softer the cheese the more gradually it is drained with little to no pressure. Sometimes this is referred to as being pressed under their own weight. Conversely harder cheeses will have weights placed on top of them or other pressing measures.

Salting
Salt is the major ingredient added to cheese to control moisture content, bacteria growth as well as for taste. This may be applied in two ways: wet and dry. In dry salting the salt is applied directly to the curd mass, often before pressing. Wet salting, also known as brining, is when the cheese is placed in a saltwater solution for anytime from several hours to several days.

Curing
Curing is a term used for a multitude of special procedures used for desired effects during aging. Some of these are: rubbing, brushing, spraying, wrapping in cloth or leaves, regular turning, etc. This is where the aging process is employed from immediately ready for consumption to several years. In general the harder cheeses are aged longer, for instance true Parmesans are aged 3 to 4 years.